The Best Fluffy Pancakes recipe you will fall in love with. Full of tips and tricks to help you make the best pancakes.

The Art Of The Perfect “Cornicione”
In the world of pizza making, the technique of “cornicione”, is something a Pizzaiolo ( a master pizza chef) strives to perfect every time they make a pizza. In Italian “Cornicione” literally means cornice. In the world of pizza making, it refers to the outer edge of a Napoletana pizza, the original style of pizza that originated in Naples Italy.
In previous articles, we explained how to prepare and construct the perfect Napolitana pizza, in this article we are going deeper, and will discuss how to make the perfect cornicione, and explain the many different factors which affect the success or failure of perfecting the perfect pizza cornicione.
A perfect Napoletana Pizza has a thin and crispy base, with a thick, chewy, puffy yet crisp and crunchy edge. (Cornicione) This edge is created when hot air is pushed from the bottom of the pizza dough, and is transferred to the edge of the pizza. This airy, puffed rim is soft on the inside and crisp and crunchy on the outside.
The True Neapolitan Pizza Association which sets the standards for what is a true Neapolitan pizza, their rules states that the “cornicione” should have a raised rim no bigger then 1-2cm.
To achieve this edge, there are a number of underlying factors, including, gluten development, dough fermentation, technique used to stretch the dough when preparing to make pizza, oven heat and ingredient placement.
Gluten Development
When making pizza dough, Gluten development is one of the most important factors to create a crispy airy base. A pizza dough that contains a great gluten structure, is more pliable and stretchy, allowing the dough to be stretched thin.
Gluten Development, is what makes a great Neapolitan Pizza, a crispy, thin and airy base, with a “cornicione” which is soft, puffy and crispy.
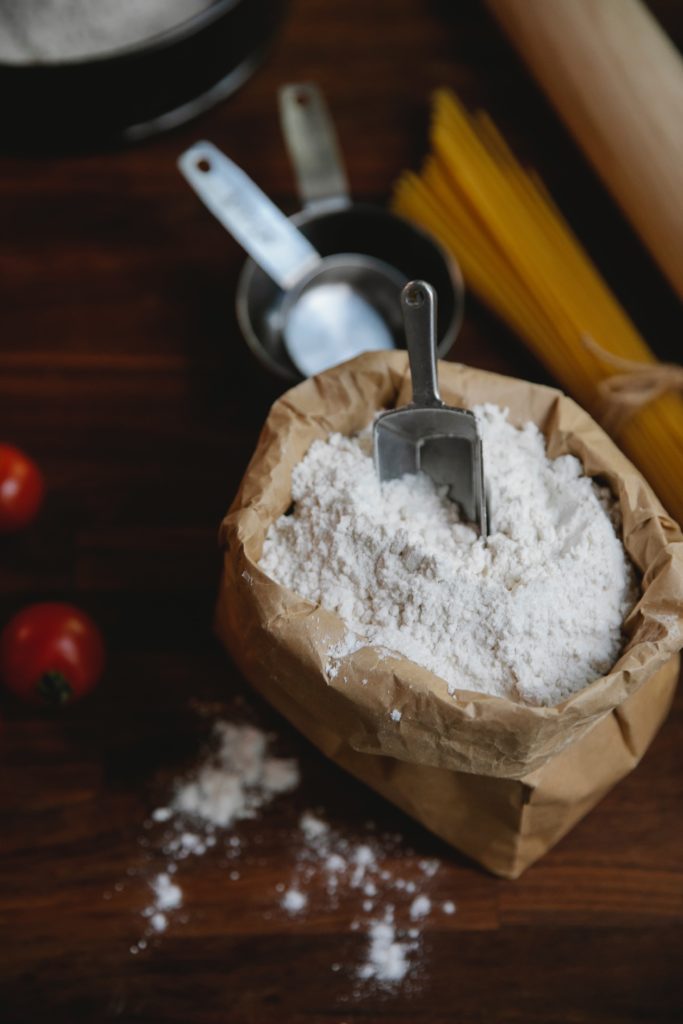
Gluten is a family of storage proteins, they are found naturally in certain cereal grains, such as wheat, rye and barley. Unless you are using gluten free flour, pizza dough requires wheat flour to create a traditional pizza.
To make pizza dough, you mix flour, yeast, salt and water. Once combined, wheat flour and water will create a chemical reaction which creates gluten bonds. The more gluten bonds your dough has, the stronger your dough will become. The stronger your dough is, the more pliable it becomes. The more pliable your dough is, the more tolerable it is to being stretched extremely thin without the dough tearing.
Kneading a dough helps the gluten structure stretch itself into a elastic network that can expand as the added yeast ferments, fermentation releases CO2 gases into the dough causing it to rise. The longer you allow your dough to proof or rise, the better your pizza doughs gluten structure.
When you cook a pizza dough in a hot fast oven, the gluten proteins stretch even more. When the dough stretches, it traps the gases produced by yeast. These trapped gases causes the dough to rise, and create bubbles inside your pizza cornicione. It is these bubbles of gas which will make the pizzas edge puff up, and create a soft, chewy and airy inside.
Perfect Gluten development starts with selecting the right flour. A good quality flour containing the right amount of gluten is the most important ingredient in creating the perfect pizza dough. Choose a flour that has a gluten content of 10-12%, many 00 Italian fined milled wheat flours are a perfect choice for you pizza dough.
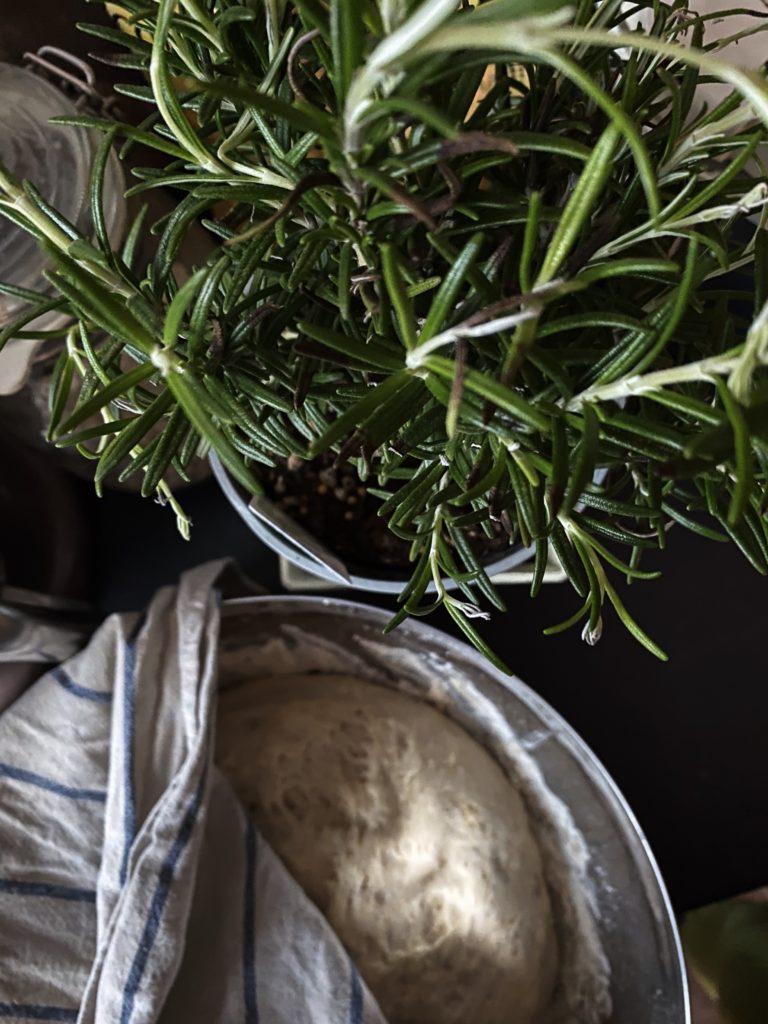
Dough Fermentation
When making pizza dough, you use yeast as a rising agent to create lift in your dough.
Yeast combines with sugars, and produces carbon dioxide as it feeds on sugars on the ingredients used in the dough mix. Carbon dioxide gas is what creates the rise of dough. It takes time to ferment a dough with sufficient gas bubbles of carbon dioxide. When making Neapolitan pizza dough, it should proof(ferment) at room temperature anywhere from 8-24hrs.
The slower a dough proofs(ferments) the better the gluten structure of the dough. To achieve a slow fermentation, you have to use less yeast. However you still need to use enough yeast so the chemical reaction does not stall or die.
A long slow fermentation will create a dough which is well stretched, and contains little bubbles of entrapped gas. When the dough cooks, it will create a “cornicione” which is full of gas bubbles, airy and rises above the base.
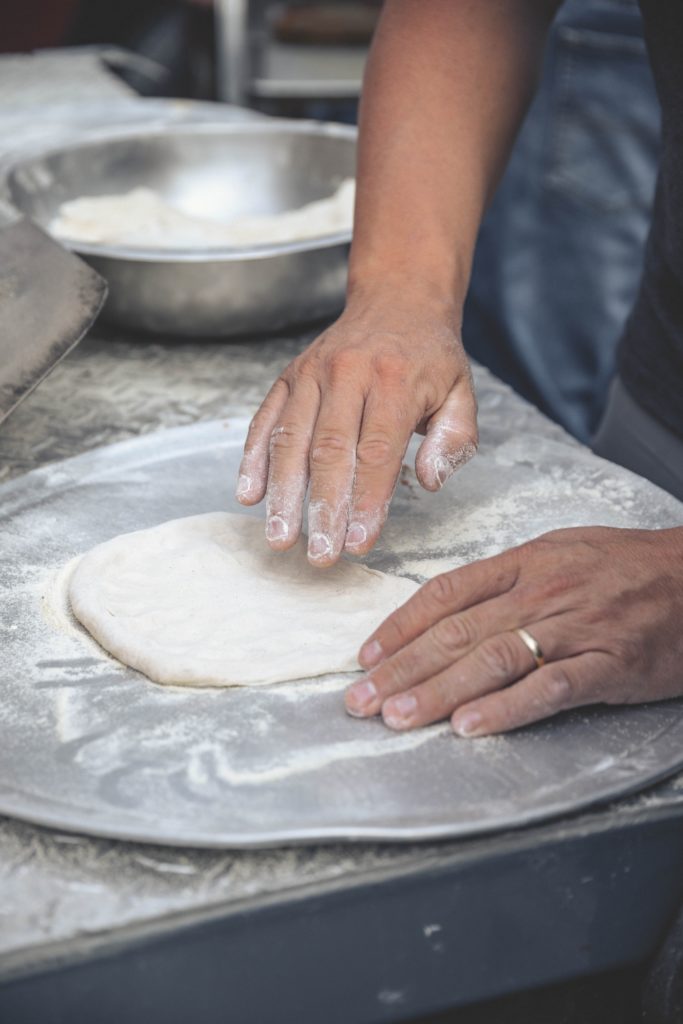
Stretching and Shaping the Pizza Dough
It is very important to be gentle with your pizza dough when making a Neapolitan pizza. It is crucial to take care of the gas bubbles you have spent so much time to create in the dough.
The rule of thumb is “DO NOT TOUCH” the edge of the pizza when handling the dough when constructing and topping the pizza. The more you handle, press or shape the dough, the more of the gas bubbles you destroy. This will result in a dense pizza base and an edge that does not rise when cooking.
To stretch out the pizza dough, start by lightly sprinkling flour on to a work bench.
Remove the dough from the fridge, and allow it to warm to room temperature for 2 hours. Place the dough ball on to the floured surface, using your fingers gently press down onto the dough ball. Press down to flatten the dough ball, making sure to keep 15-20mm from the edge. Keep pressing into the center of the dough, gently pushing your hands away from each other, stretching the dough away from the center, keeping the dough as circular as possible. Turn the dough over and repeat the same motion, until the dough has a thickness of 2.5mm thick, with a 15-20mm well defined “cornicione” edge.
Ingredient Placement
Now it would be senseless to go through all these stages to achieve an airy pizza base with a well formed “cornicione” and the go ruin it by piling ingredients onto your pizza. The number one rule to topping a pizza is “Less is more “ so don’t over top your pizza with toppings.
Not only should you keep you toppings to a minimum, but make sure there is little moisture in your ingredients, and the ingredients are evenly distributed. And when placing sauce onto the base, use a circular motion from the center spread gently across the pizza and stopping 1-2 cm before the edge.
And remember, don’t place ingredients all the way to the edge. You need to leave a border to allow the “cornicione” to puff up.
If you follow these simple topping techniques your pizza will have a nice light crispy base and a raised “cornicione”
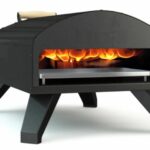
Oven Heat
An extremely hot oven is essential to achieve a perfect Neapolitan pizza. Commercial pizza ovens and woodfired pizza ovens achieve heats over 450.C. This extreme heat allows the pizza to cook fast. (60-90 seconds in a wood fired pizza oven).
When you place the pizza inside the oven, the carbon dioxide gases trapped inside the dough react to these hot temperatures by expanding. This expansion makes for the perfect puffed up “cornicione”, and allows the pizza to become nice an crispy on the base and on the outside.
When cooked at the right temperature, a Neapolitan style pizza should have a crust which is very thin and crispy (3mm) at the base. The cooked interior of the pizza is soft, fluffy, chewy, and has an airy moist texture, with large air bubbles formed from the gasses from the yeast filling the “cornicione”
The color of the dough when cooked, should show uneven charring or browning, dark spots of color surrounded by paler dough.
So how do you achieve this in your own home oven?
Well, home ovens don’t get as hot as woodfired pizza ovens, however you can achieve similar if not the same results with a few different techniques.
Firstly, use a pizza stone or steel to cook on. Preheated, these cooking bases get extremely hot and can radiate the heat required to create similar conditions as a wood fired pizza oven. When they are preheated pizza stones or pizza steels gives the dough a strong burst of initial heat, puffing up the “cornicione” of the pizza.
Secondly, crank your home oven onto the highest setting temperature you can set your oven to. Preheat the oven at the hottest setting for at least one hour before cooking your pizza. Position your oven rack in the top third of the oven, and place your pizza stone or steel onto the oven rack. Preheat the stone or steel for at least one hour before adding your prepared pizza.
Wait patiently and watch your pizza cook, You know when your pizza is cooked when, when the crust is crispy on the bottom and when the bubbles which form on the “cornicione” of the pizza, and are deep brown in color. (Depending on how hot your oven gets you pizza should be cooked in 5-8 minutes).
We hope you can learn from our suggested techniques and suggestions. Pizza making is an art, it takes time and practice to achieve the perfect pizza. The age old saying is “practice makes perfect”. And who cares if you don’t get it right 100% of the time, at least you can still enjoy your mistakes.
Enjoy!